Makeup for Beginners: What You’ll Need For Your First Makeup Kit

Everybody has got to start some where, right?
Welcome to a judgment-free space!
If you’re here, it’s likely because you’ve chosen to start learning how to apply your own makeup.
Whether you’re a teenager or well into adulthood, there’s no better time to begin than now.
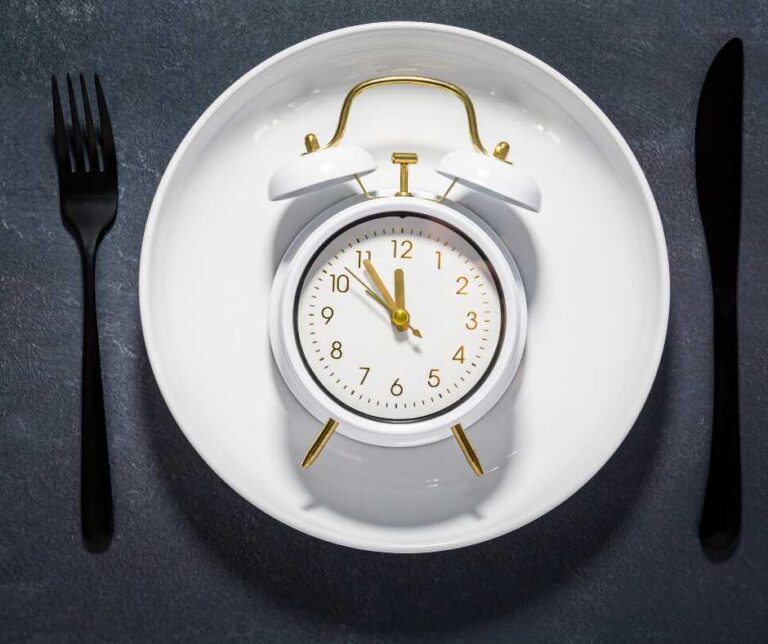
Exploring makeup can be enjoyable, yet for beginners, the vast array of products can be intimidating. As a beginner, creating a simple makeup kit is essential for the look for you.
For makeup for beginners, here’s what you’ll need for your first makeup kit to kick-start your beauty journey today!
How To Do Makeup For Beginners
First off… before anything, where do we start?
Whether you’re after that subtle natural look or something more intense and dramatic, there will always be makeup products that will help you find your desired look. Here are just a few reminders before you begin:
- look for products that are easy to use – don’t require too much skill to apply
- don’t be afraid to experiment – practice makes perfect
- remember to be patient – don’t get too frustrated in the beginning
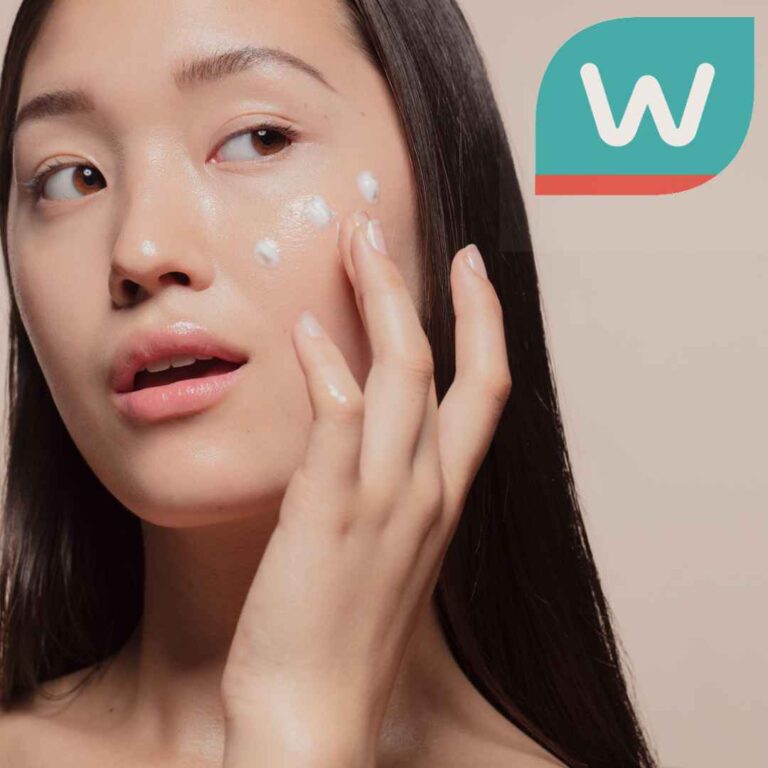
- prepare your skin to create a smooth base for application
- cleaning your skin with a cleanser – remove dirt, oil, bacteria
- exfoliate at lease once a week – slough away dead skin cells
- apply moisturizer and sunscreen
- having brushes and sponges on standby is a must for basic application
The key is knowing your skin type and finding the right products that work for you.
1. Primer
Primer serves as the “pre-makeup” step before actually applying the makeup. Think of it as bridging the gap between your skincare and your makeup. It makes the process so much easier:
- smooths surface – easier application, improved aesthetics, reduced friction
- makeup adherence – allows the makeup to stick for a longer, lasting effect
Primer ensures that the different beauty products that are applied on top do not smudge, budge, or fade throughout your day.
The type of primer you should use depends on:
- your skin type
- the effect you want
From colour correcting primers that cancel out redness to dewy primers that add a natural looking glow, there are many options to choose from to fit the palette you’re trying to achieve.
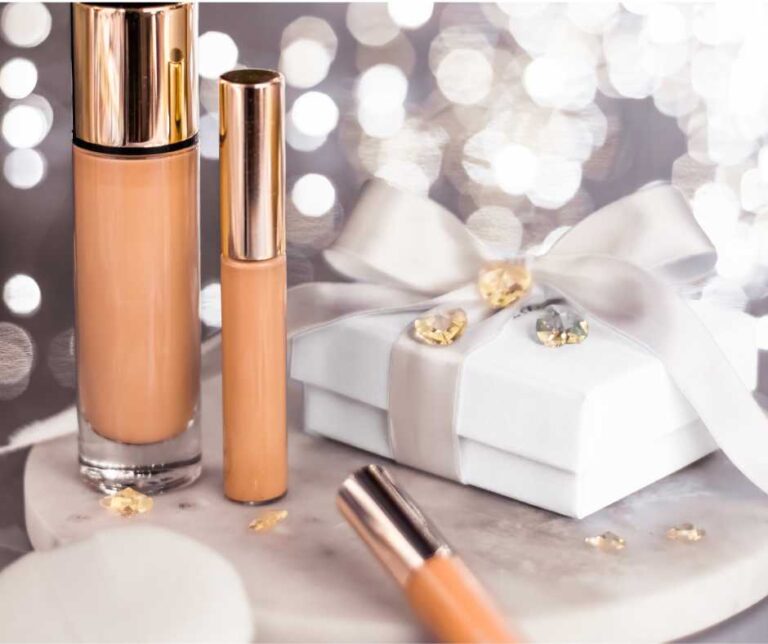
2. Foundation

Now that the stage is set, it is time to get that flawless, even complexion with your foundation.
When starting from the beginning, it is important to get comfortable using foundation.
Just like primer, the type of foundation you get is going to depend on your skin type.
- liquid
- suitable for all skin types
- easy to work with
- can easily mix 2 shades to create custom shade for you skin tone
- powder
- can be used wet or dry
- wet – creamy and soft
- dry – pressed powder
- pressed powder
- convenient
- good for on-the-go touch ups
- matte finish – works well with oily skin
- loose powder
- normal to oily skin
- helps control shine
- natural-looking matte finish
- unfortunately, it could be messy sometimes
- cream
- thick and rich
- good for dry skin
- moisturizing for dewy finish
- stick
- solid form
- heavier than liquid
- can also be used as concealer
Choosing the right foundation depends on:
- shade and undertone – how light or dark
- warm – hints of yellow or golden
- cool – pinks, blues, purples
- neutral – mix of both, warm and cool hues
- finish
- dewy – radiant, glowing, natural shine, youthful glow, look soft and healthy
- matte – no shine, counters oily, minimize appearance of pores
- satin – in between matte and dewy, refines pores, adds a light radiance without be as glowy as dewy
- coverage
- sheer/light – low colour pigment, most natural and skin-like finish, good if you do not have too much discoloration, hyperpigmentation, little blemishes and low acne scars
- medium – slightly higher opacity, still maintain skin-like finish
- full – completely covers yours skin, hides all imperfections, flawless and even complexion
Remember, the key is to finding a shade that easily blends with your natural skin tone.
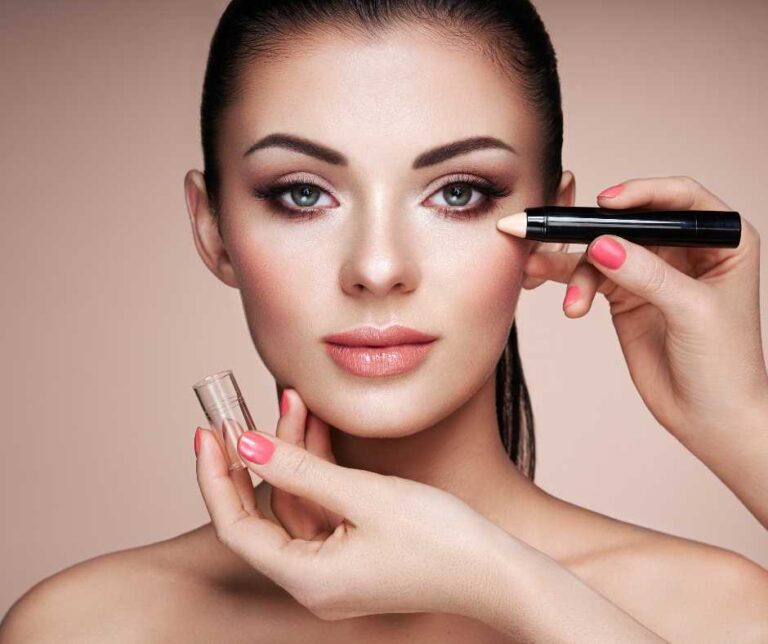
3. Concealer
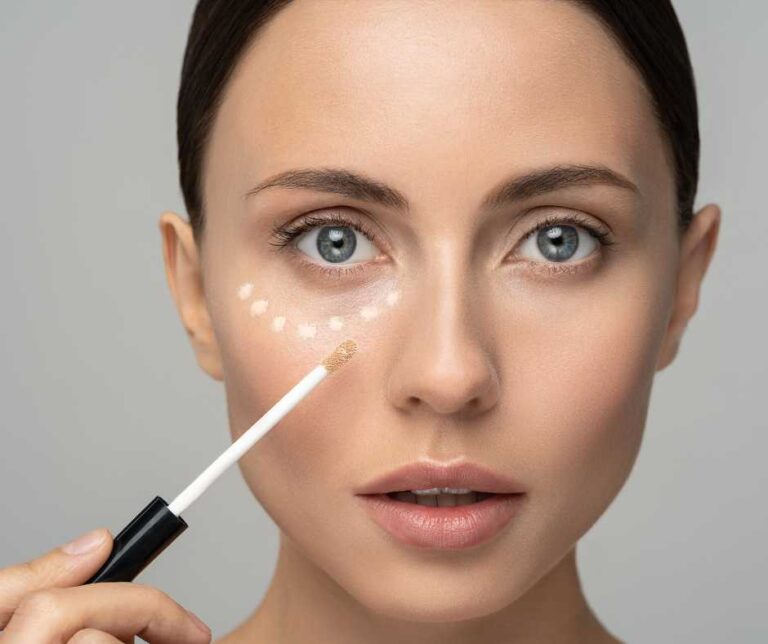
Concealer is a versatile product. There are so many way to use it.
- highlighting – brighten beauty features that naturally get hit with light
- conceal – covering dark circles or blemishes
- even out skin tone
- blur fine lines
When choosing the right shade:
- start with a yellow undertone, as it adds warmth and brightens up your skin
- one shade lighter than your skin tone – make high points of your face pop
- be careful of one that is too light for your skin – washed look
- apply first on chin to get an accurate shade match
Here are some tips for which areas to target:
- under your eyes – evens out any darkness under your eyes
- centre of your forehead to brighten it
- under your eyebrows – adds definition
- bridge of nose – sculpts it, makes centre of nose brighter, gives illusion of longer nose
- cupid’s bow (lip) – a poutier look
- use as a spot corrector – hide any dark spots/pigmentation for extra coverage
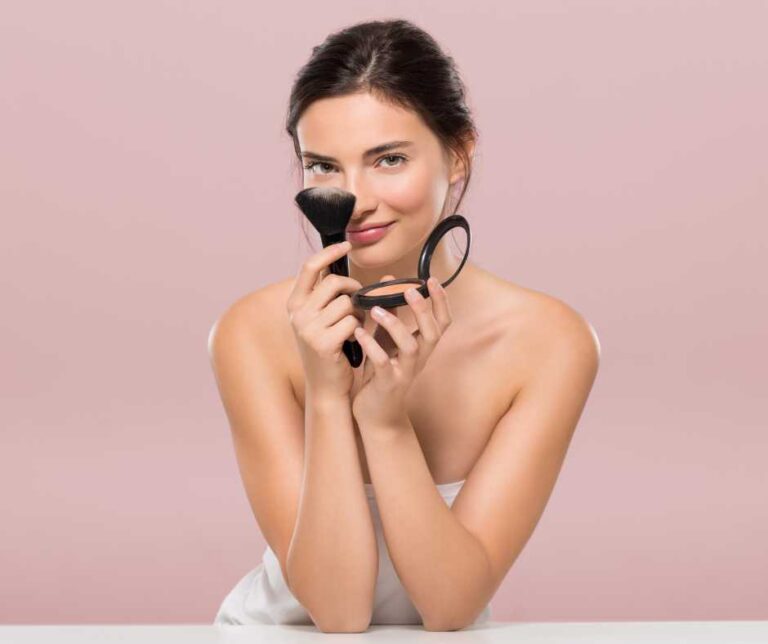
4. Setting Powder
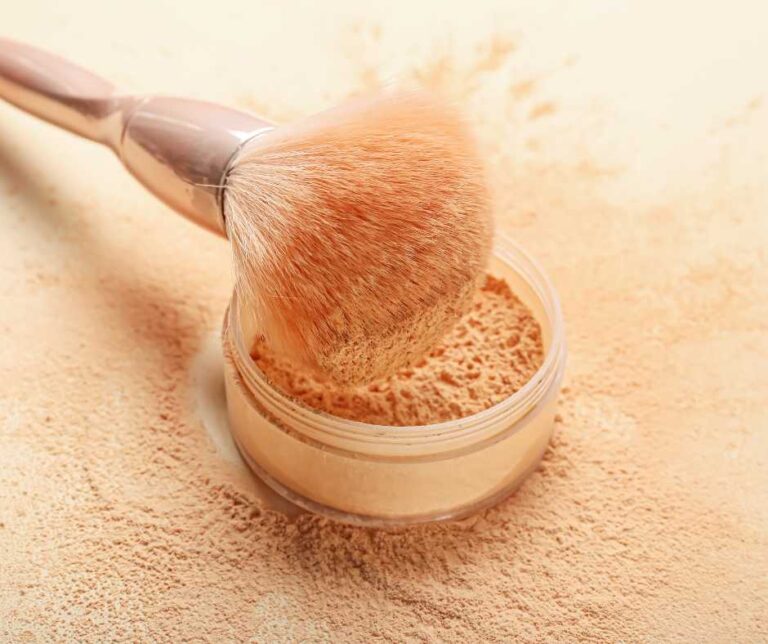
After concealer application, it is very important to use a setting powder to set it all in place. Powders are formulated to blur your pores and control your shine through the day.
- dry skin – use a compact powder
- staple, perfect for touch up when on the go
- lightly dust it all across your face to lock your concealer in place
- oily skin – use a loose powder
- blurred, airbrushed look
- matte finish sets concealer in place to avoid a shiny face
As a beginner pro tip, get the mini/travel sizes at first of the more expensive setting powders because it usually takes quite a while to finish them anyway.
Not only will they come in handy when you travel but also allow you to sample setting powders with greater flexibility.
5. Blush
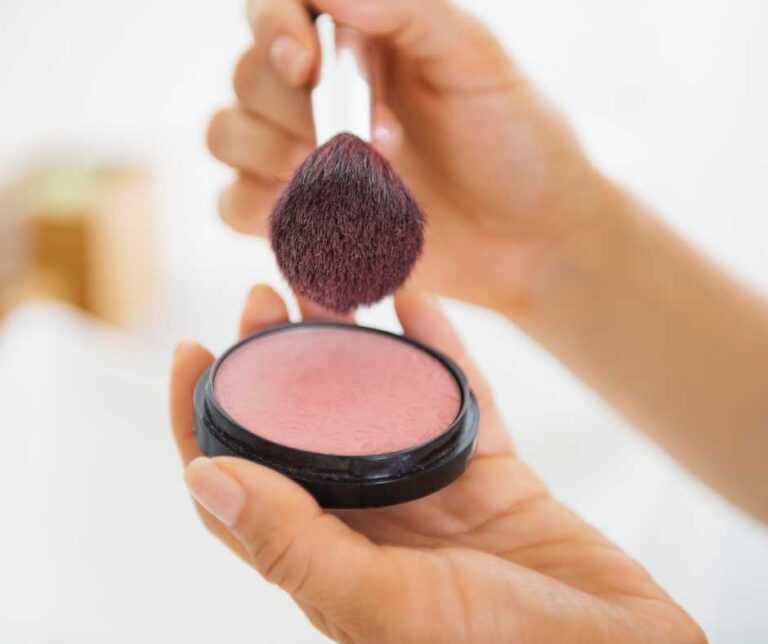
Blushes are essential for adding colour back to your face.
Just a dab on the edge of your cheeks instantly gives you a more youthful and radiant look.
Picking the right shade for you is what will make your colour stand out:
- light skin tone – very light pink, coral, peach are safest bet
- medium – warmer undertone, bronze, peachy, mauve rich
- dark – darker corals, hot pinks, reds
- olive – golden, green, yellow undertones… darker bronzy shades, muted pinks, purple blush
Get your blush colours to perfectly match your skin tone giving your complexion that pop of colour taking it to the next level.
6. Contour
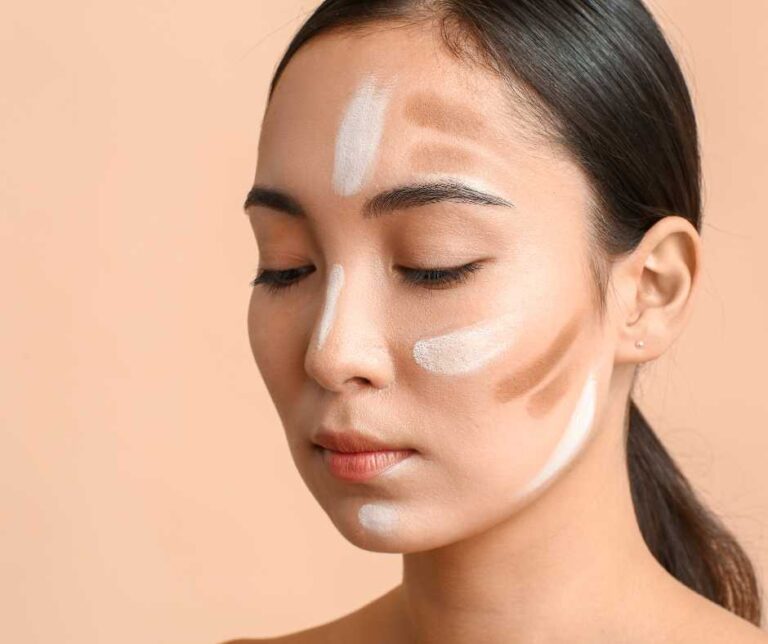
The next step in adding some depth and dimension is by using a contour. This creates shadows and carves out your facial features.
You are going to need a product that is 2-4 shades darker than your skin tone.
For the beginner-friendly, stick with a shade that is slightly darker than your skin tone.
Beginner recommendation: start with foundation sticks
Contour sticks are a must have makeup product for beginners as it allows more control over how much you are applying.
7. Highlighter

The finishing touch that makes your skin glow is the highlighter.
Whether you prefer that natural no-makeup makeup look or going full-blown doll-up, they can help you enhance your makeup game.
Just mix a powder or liquid form variant with your foundation for an overall glow.
8. Eyeshadow Palette
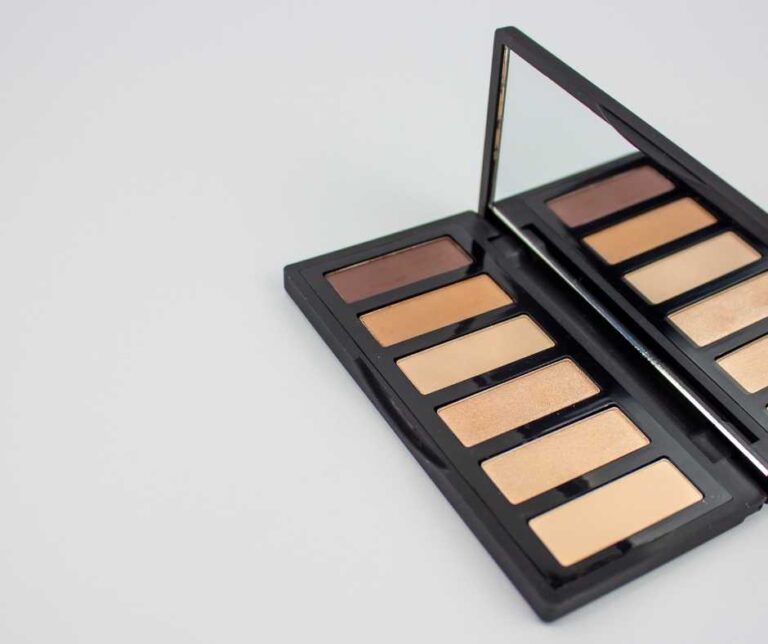
Eyeshadows are the go-to for making your eyes glow.
If you are just starting out with eyeshadow makeup looks, don’t start with technical cut crease, the halo eyes, or the crazy gradient eyes.
Enhance your basic eye makeup by incorporating a medium brown or taupe hue for added depth.
For a smooth crease transition, lightly dab the chosen shade onto a small, fluffy blending brush and sweep it softly across your crease using a windshield wiper motion.
Remember to be gentle to avoid harsh lines and patchiness.
For your beginner’s makeup kit, a good mix of mattes and shimmers in subtle and bold colours is recommended.
9. Eyeliner
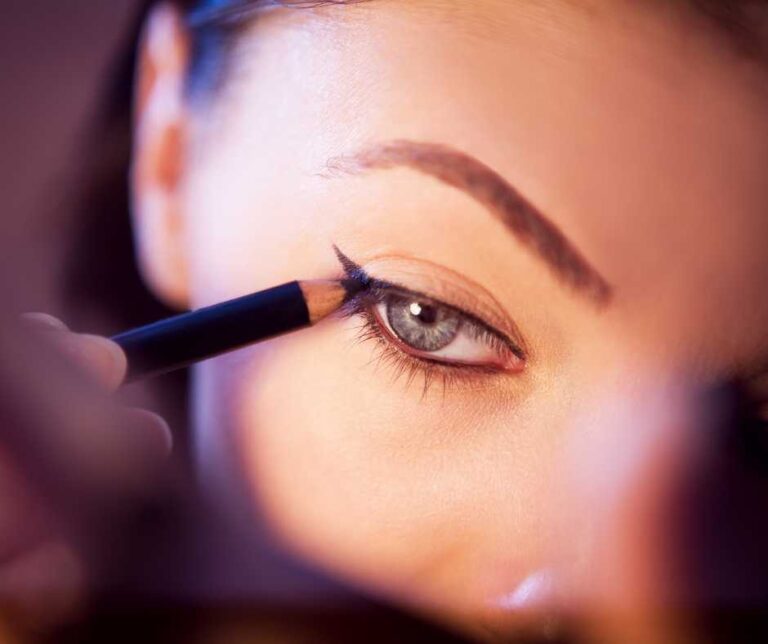
Eyeliner elevates your eye makeup game.
Whether you want to create a sharp winged or a bold smoky eyeliner look, there is a vast range of liquid, pens, and waterproof eyeliners.
Here are some advantages of having an eyeliner in your makeup kit:
- eye enhancer – accentuates and defines eyes, makes them appear larger
- longevity – waterproof, long-lasting, without smudging
- versatile – many forms such as pencil, gel, liquid, felt-tip pens
- shape – thicker lines for smaller eyes, winged liners for lifted look
- expression – allows for creativity with different application techniques, colours and finishes to suit every mood and different occasions
Here are also some beginner tips for selecting the perfect eyeliner for you:
- type – select based on your preference and skill level
- liquid – precision
- pencil – easy blending
- gel – versatility
- colour – classic black or experiment with other shades complementing your eye colour
- formula – consider smudge-proof or water-resistant for long-lasting effect
- applicator – test to ensure ease of use and precision
- skin sensitivity – for sensitive eyes, use hypoallergenic or ophthalmologist-tested products
10. Kajal
Not satisfied with eyeliners?
Kajal and eyeliners are used differently, which is why they are distinguished. Eyeliner is more an eyelid makeup applied over both the upper and lower eyelids, while kajal is used as a waterline eye makeup on both the upper and lower eyelids.
This tool amplifies your eye by adding that drama-look to your beautiful eyes.
These beginner tips would help you select the best eye makeup partner for you:
- avoid liquid kajal – can be difficult to handle, avoid racoon-eyed look
- various types
- kohl – made with soot and natural oils and applied with brush
- pencil – use to create both subtle and dramatic look
- coloured – a modern alternative to traditional black
- nourishing – formulated with aloe vera, vitamin E, etc.
- check the tip -make sure the tip is not too sharp as it might cause irritation
- formula – consider smudge-proof or water-resistant for long-lasting effect
- skin sensitivity – for sensitive eyes, use hypoallergenic or ophthalmologist-tested products
11. Eyebrow Pencil

Your eyebrows tie your entire makeup look together. It is very important in choosing the best eyebrow product for you because it can make or break your final look.
The perfect eyebrow pencil has the power to make your face look perfectly symmetrical. Your arches bring a harmony between your face length and width.
Understanding your face shape and your natural eyebrow colour control the appeal of your eyebrows.
Here are some beginner tips that shed some light about the eyebrow shapes that best suit the different face types:
- round face
- your length and breadth is nearly equal
- experiment with lifted and arched brows
- gives more elongated and sleeker look
- use an eyebrow gel to sculpt the arch of your brows
- goal: achieving a perfectly pointed pair
- oval
- already blessed with gentler features
- best to keep things subtle
- create curvier brows that have very soft edges
- goal: maintain the balance of your face without making it look longer
- square
- has wide forehead and a jawline
- best to keep your brows dense and lifted
- groom your arch softly with an eyebrow gel
- goal: counter strong shape of your jawline, giving an overall balance to your face
- heart
- wider forehead and a smaller chin
- make very soft angles with an eyebrow pencil to make the forehead appear smaller and inline with the chin.
- goal: shorter and thick brows best fit
- diamond
- marked by prominent cheekbones
- use an eyebrow gel to make your brows curve gently around the tail for a chic look
- goal: to make the features appear softer, longer brows with tame arches
12. Mascara
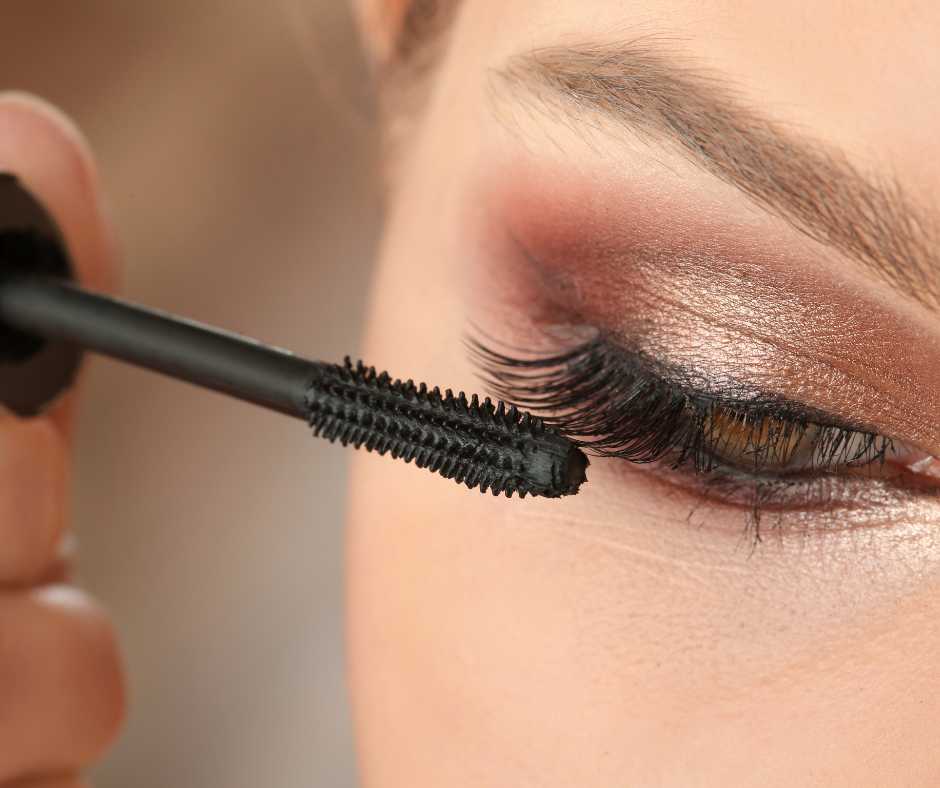
Mascara is the tool that makes your eyes pop, providing volume and length. Just a few swipes can make your lashes look longer, fuller, and darker.
For an everyday look, go with soft and fluttery lashes.
For a more bold look, go with long and voluminous lashes.
13. Lipstick
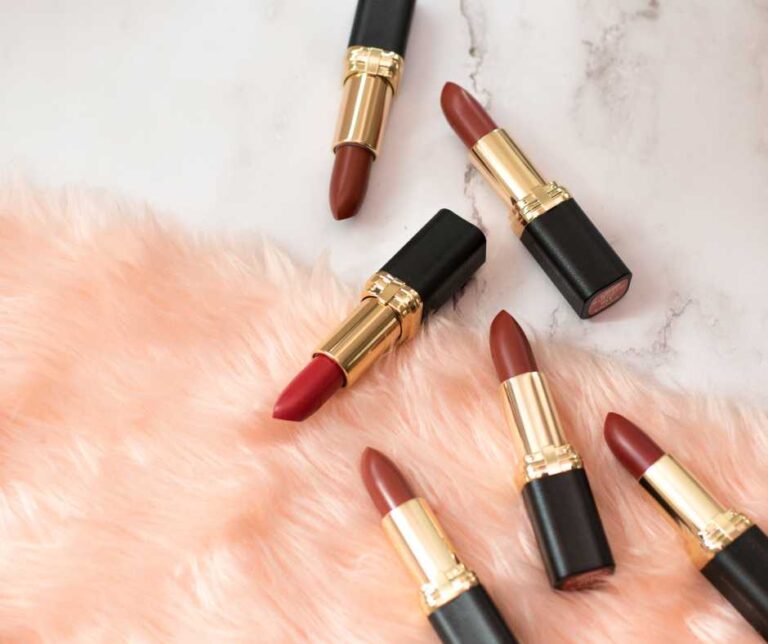
Your lips are another area that will catch attention.
Keep up with the always changing current trends of colours and formulas.
A clean and precise lipstick application is important to ace any makeup look.
Here are some beginner tips on how to apply lipstick:
- prep your lips
- lip care is as essential
- dried lips are a bold lipstick’s worst nightmare
- exfoliate your lips with a damp toothbrush
- hydrate and moisturize your lips with a nourishing lip balm
- prepare the base
- apply small amount of lightweight concealer or foundation that matches your skin tone
- prevents your lipstick from bleeding or feathering outside of your lip line
- line your lips
- use a lip liner to outline
- gives clear shape and definition
- apply your lipstick
- start at center of upper lip, just below the Cupid’s bow
- swipe the lipstick across your upper lip from the center to both corners, till the entire lip is covered
- repeat for bottom lip
- avoid going over your lips with multiple swipes of lipstick as this could cause the product to build up and make your lips look patchy and cakey
- blot your lipstick
- optional step and can be skipped if you are in a rush
- reduces the transfer from your lips to your coffee mugs, spoons, etc.
- make your lipstick last longer
- take a soft face tissue and separate the layers to make it a thin, single ply tissue
- fold in half and hold it in between your lips and press down
- takes off the extra product and oil from your lips and leaves you with a thin yet pigmented layer of lipstick.
14. Setting Spray
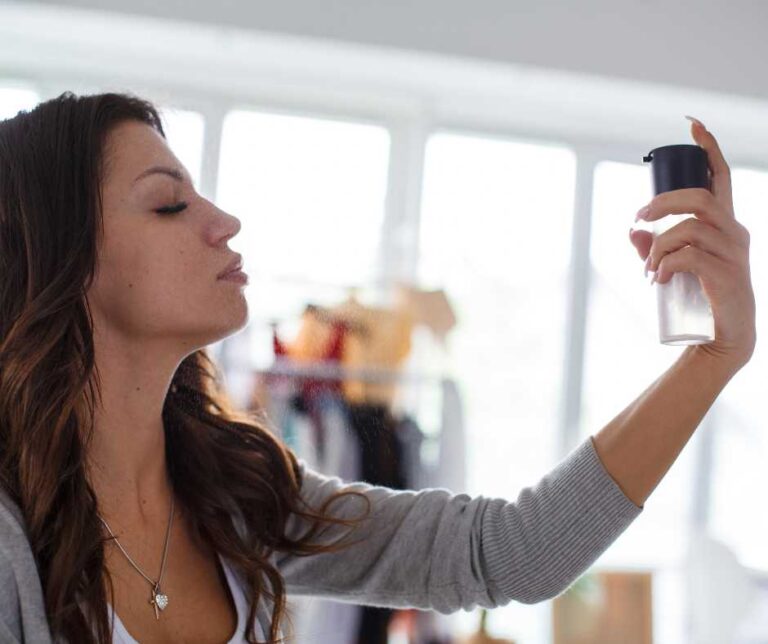
The product that brings it all together is the setting spray.
This beauty tool is essential to make sure all your hard work stays in place till the end of the day.
Setting sprays are the protective shield that locks in your look, ensuring it stays fresh and vibrant throughout the day.
Here are some beginner tips to correctly spritz the makeup finishing spray on your face:
- always shake the bottle before spraying
- hold bottle eight to ten inches away from your face
- ensure that your eyes are gently closed
- hold it at a distance to keep the mist fine and uniform
- spritz the setting spray around four to six times
- cover your entire face
- wait for the product to dry
- avoid spraying directly into your eyes and lips
15. Additional Makeup Tools
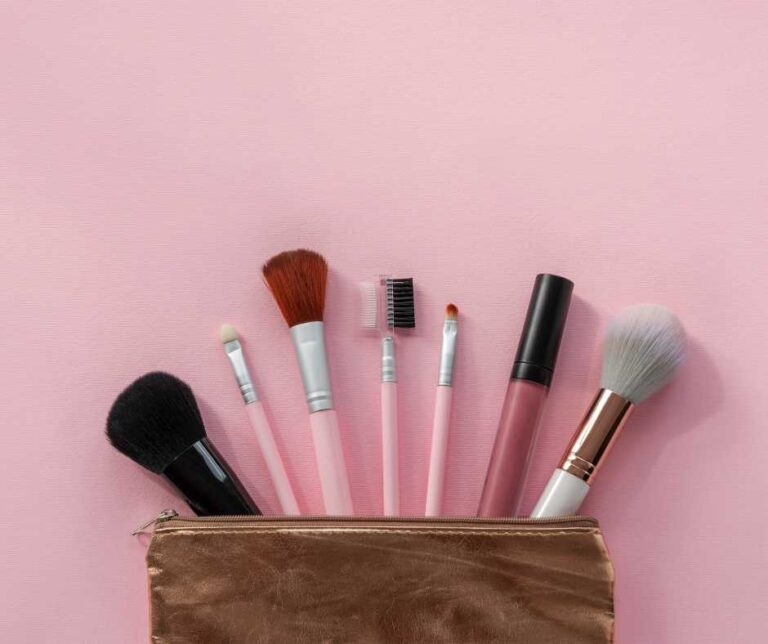
By this point, you should have made a checklist of tools that you will need in your makeup kit, but if not, then here is a quick recap of makeup tools for your makeup kit:
Must have makeup brushes –
- foundation and concealer brush
- powder brush – for setting powder and blush
- highlighter brush
- fluffy crease brush for your eyeshadow crease shade
- flat eyeshadow brush for your eyelid shade
- small, dense blending brush for the outer corner of your eyelid
Additionally, you should also invest in a good quality beauty makeup sponge.
To make sure that your makeup products remain safe and secure, obtain a good bag to keep your products clearly visible and easy to access.
You have now created your very own customized makeup kit!
Before you know it, you will no longer be classed as a “beginner,” but as a professional makeup artist!